vESR installation
vESR minimum system requirements
- Minimum disk space is at least 375 MB.
- RAM is at least 3 GB.
Creating virtual machine
For initial installation, download the 'vesr-1.18.2-buildX.firmware' file from the ELTEX official website.
Creating virtual machine using the example of the VirtualBoX hypervisor
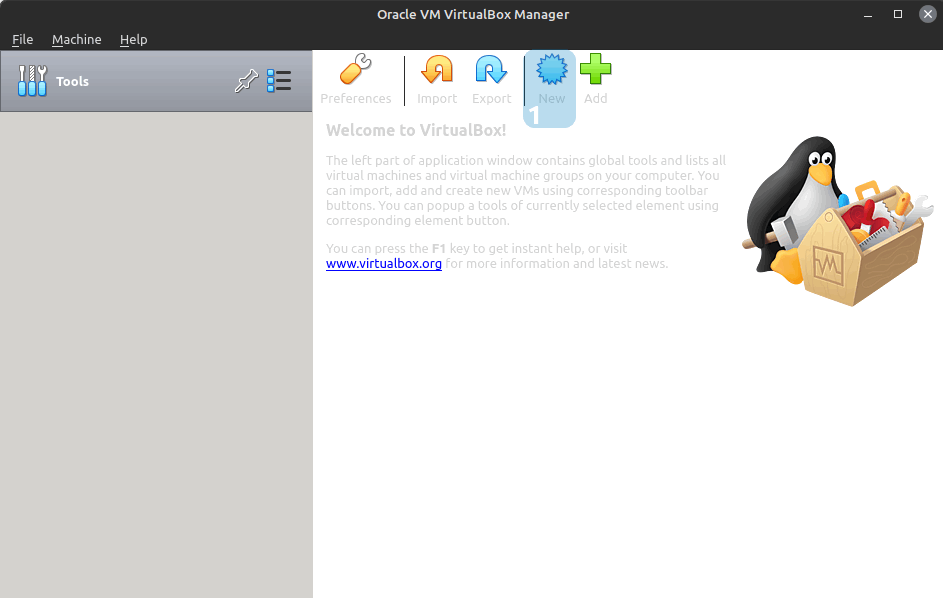
1) Launch VirtualBox. To create virtual machine, click the 'New' button in main menu.
2) Specify name of the virtual machine in the 'Name' field. In the following example, vESR will be installed, so put 'vESR' in the 'Name' field.
It is recommended to give the virtual machine a simple and descriptive name.
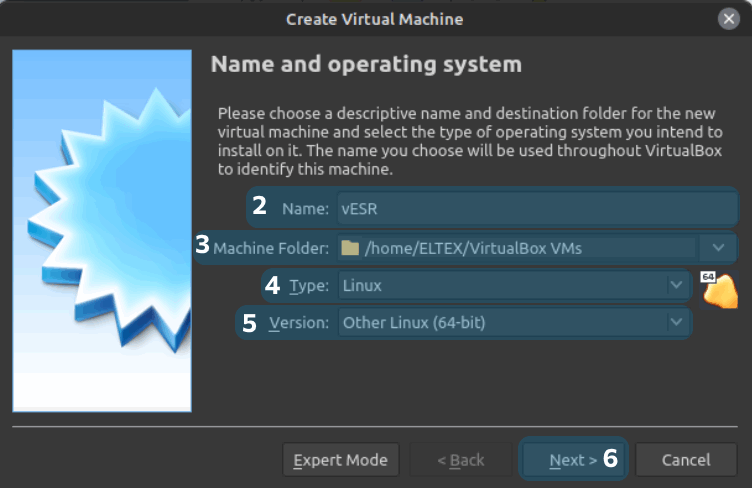
3) Before selecting a disk, make sure that the user has rights to work with this disk and that the technical condition of the disk allows it to be used as a system disk for a virtual machine.
In the 'Machine Folder' field, specify the path where the virtual machine will be stored.
4) In the 'Type' field, select the 'Linux' operational system.
5) In the 'Version' field, select any 64 bit version. In the given example 'Other Linux (64-bit)' is selected.
6) Click 'Next' to go to the next step.
7) Select the amount of RAM to allocate to the virtual machine. For correct operation, it is recommended to maintain a balance between the amount of RAM of the virtual and host systems.
The minimum amount of RAM must be at least 3GB.
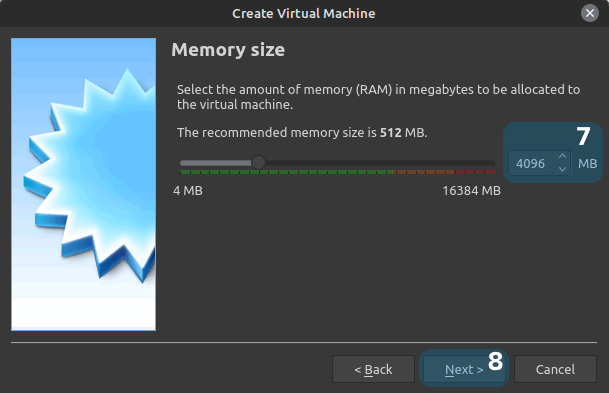
8) Click 'Next' to go to the next step.
9) Select the 'Create a virtual hard disk now' option.
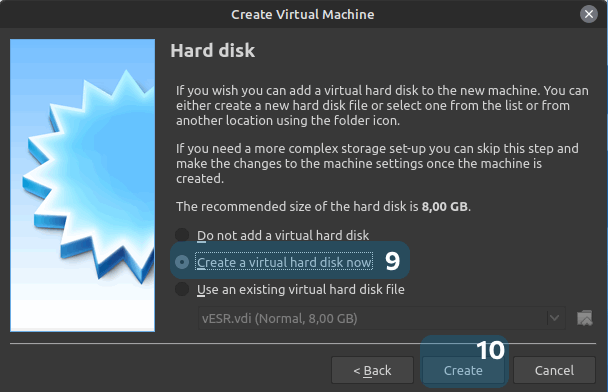
10) Click 'Create' to go to the next step.
11) You can select any disk type. In the given example 'VDI (VirtualBox Disk Image)' is selected.
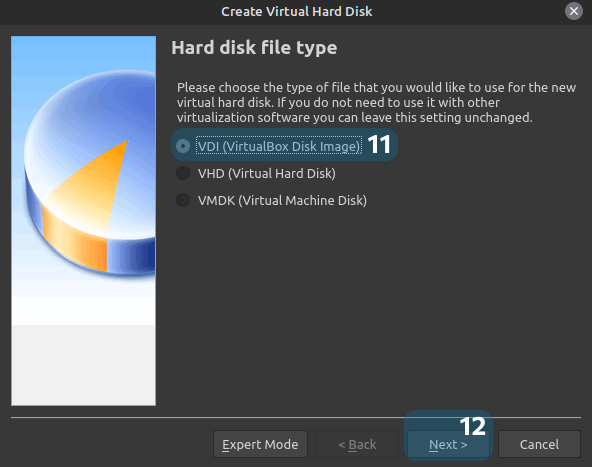
12) Click 'Next' to go to the next step.
13) You can select any disk storage format. In the given example 'Dynamically allocated' is selected.
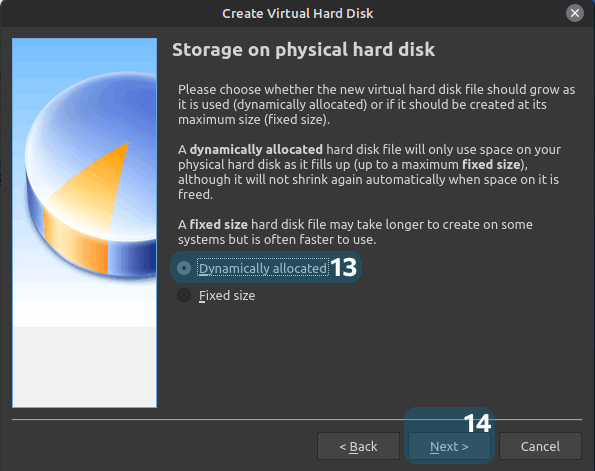
14) Click 'Next' to go to the next step.
15) Set the name of the new virtual disk.
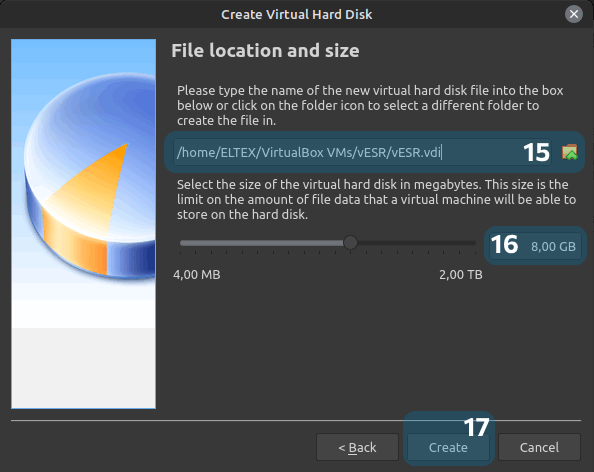
16) Set disk size.
17) Click 'Create' to create the virtual machine.
Minimum disk size is 375 MB, all space above the minimum limit will be allocated for flash/data.
Virtual machine has been successfully created.
Creating virtual machine using the example of the ESXi hypervisor
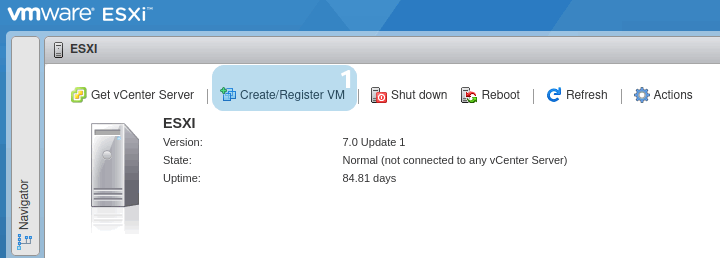
1) Click 'Create/Register VM'.
2) Select 'Create a new virtual machine'.
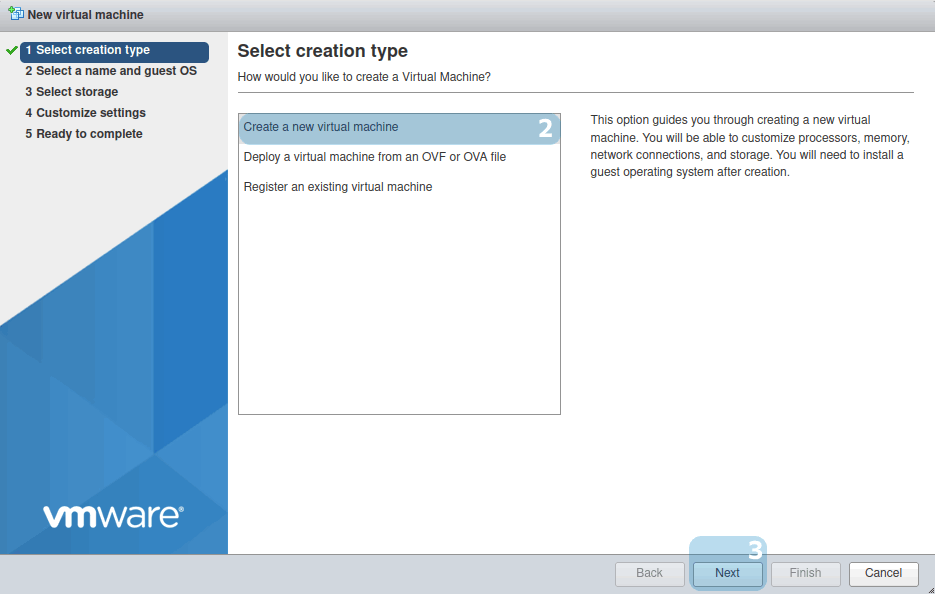
3) Click 'Next' to go to the next step.
4) In the following example, vESR will be installed, so put 'vESR' in the 'Name' field.

5) In the 'Compatibillity' field, specify the version of ESXi you are running.
6) In the 'Guest OS family' field, select the 'Linux' operational system.
7) In the 'Guest OS version' field, select any 64 bit version. In the given example, 'Debian GNU/Linux 4 (64-bit)' is selected.
8) Click 'Next' to go to the next step.
9) Select storage for the virtual machine.
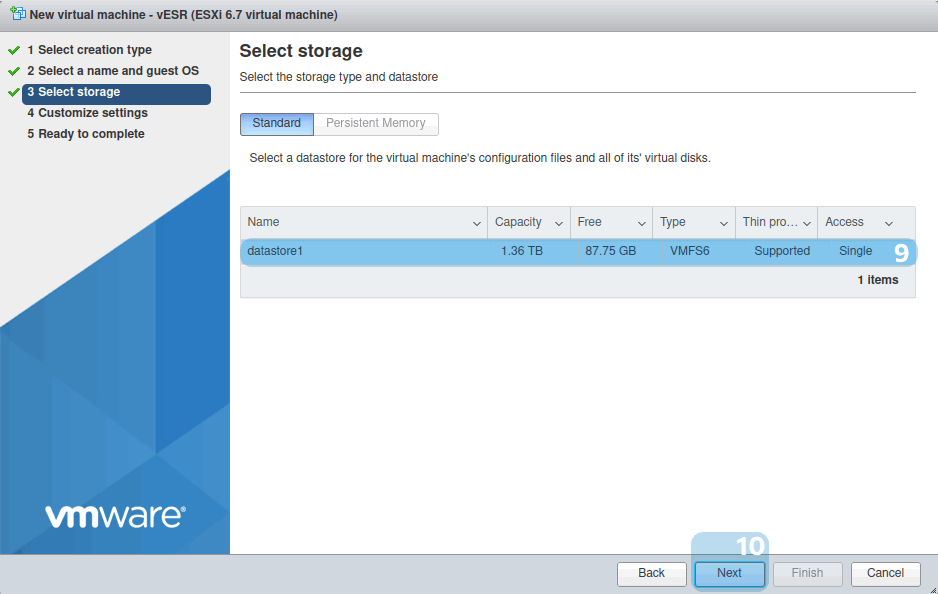
10) Click 'Next' to go to the next step.
11) Select amount of RAM to allocate to the virtual machine.
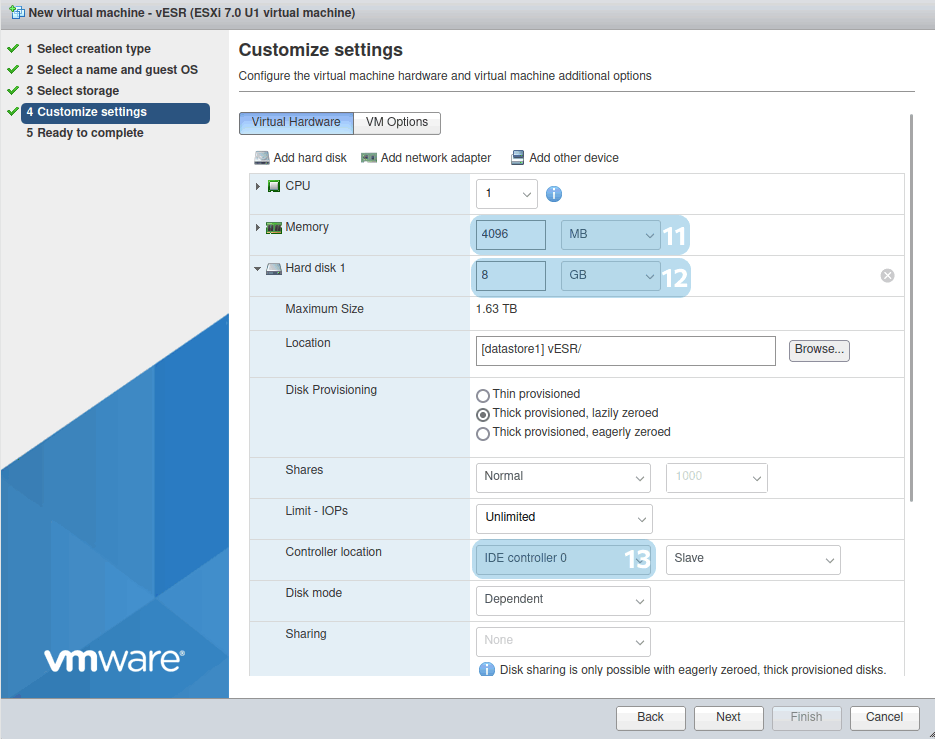
The minimum amount of RAM must be at least 3GB.
12) Set disk size.
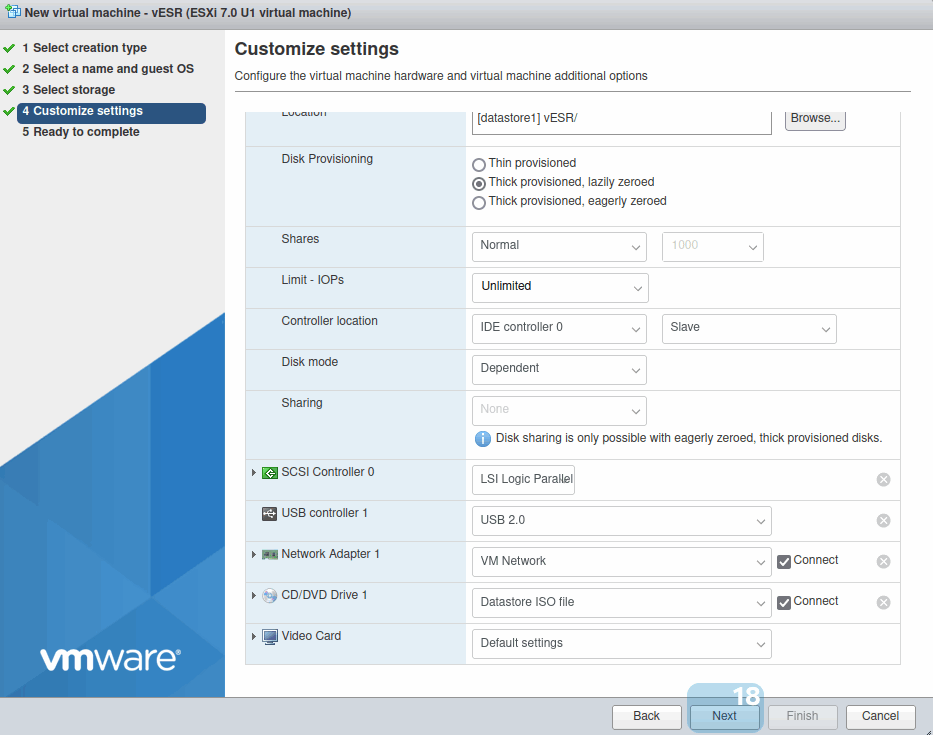
13) Set the 'IDE controller' status in the 'Controller location' field for the hard disk.
Minimum disk size is 375 MB, all space above the minimum limit will be allocated for flash/data.
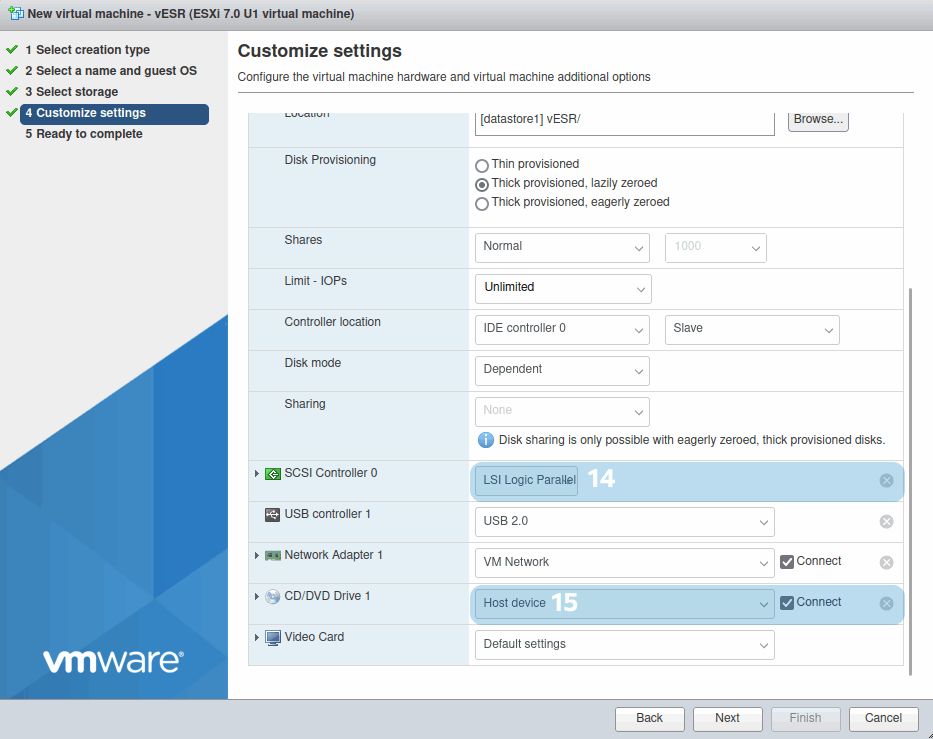
14) Set the 'LSI Logic Parallel' status in the 'SCSI Controller' field.
15) Set the 'Datastore ISO file' status for the 'CD/DVD Drive'. A window for image selection will be opened.
16) Select the 'vesr_installer.iso' image.
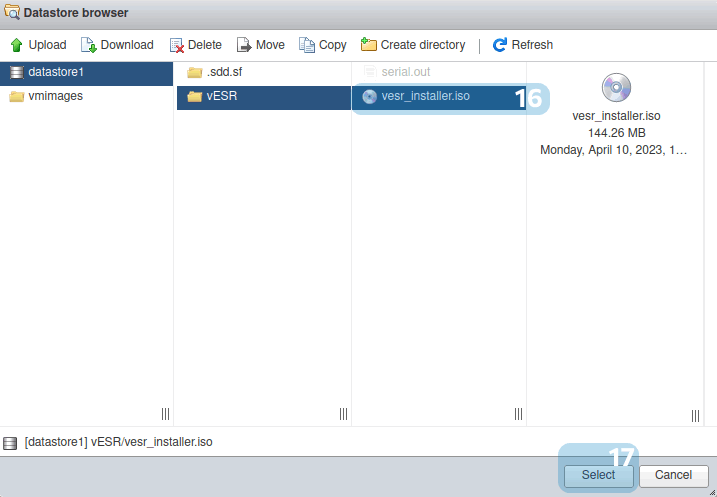
17) Click 'Select' to confirm.
18) Click 'Next' to go to the next step.
19) Click 'Finish' to create the virtual machine.
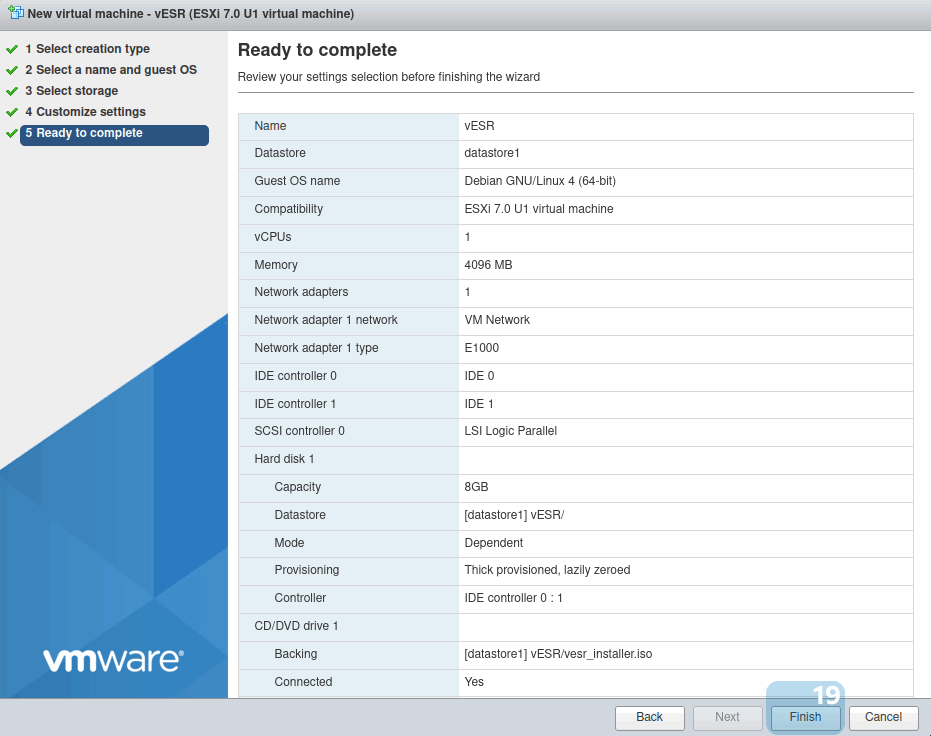
Virtual machine has been successfully created.
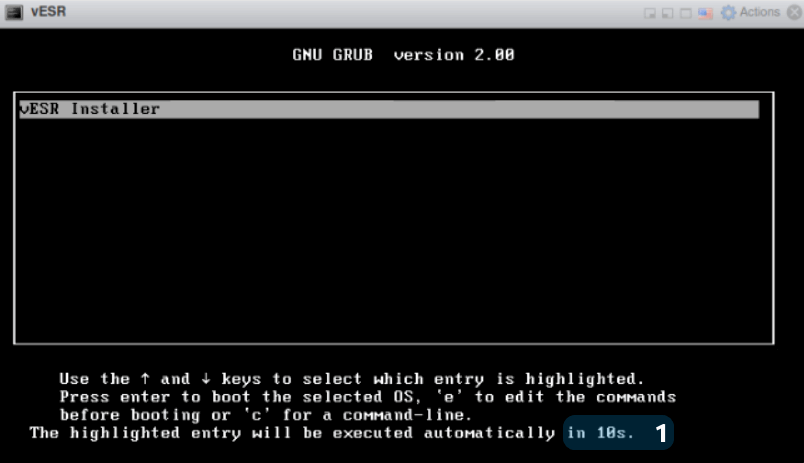
vESR installation
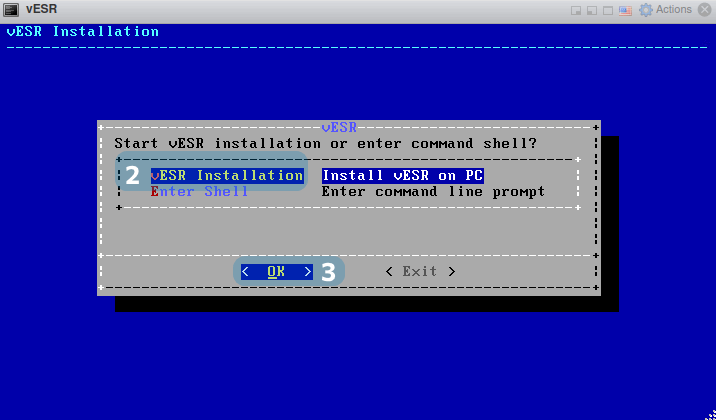
1) Wait for the end of the timer or click 'Enter'.
2) Select 'vESR Installation' using the '↑, ↓' keys.
3) Select 'OK' using the '←, →' keys and press 'Enter'.
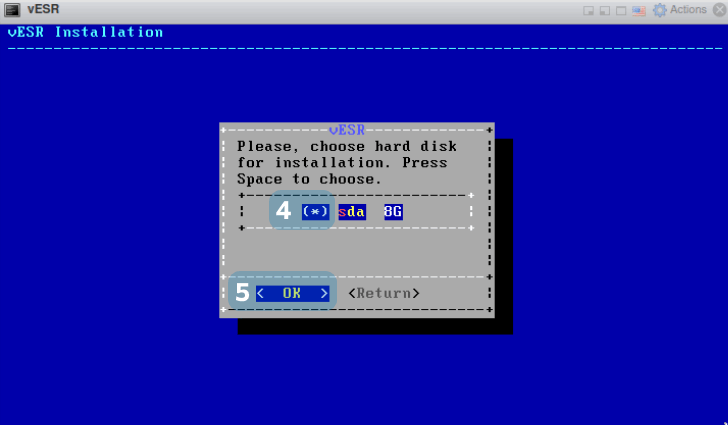
4) Press 'Space', then the '*' will be displayed.
5) Select 'OK' using the '←, →' keys, and press 'Enter'.
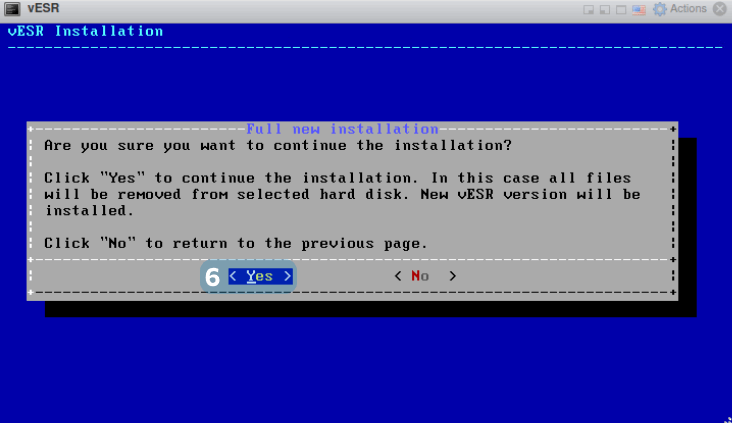
6) Select 'Yes' using the '←, →' keys and press 'Enter'.
7) After installation, you will see the 'Installation complete. Please, reboot' message.
8) Type 'reboot' at the command prompt and press 'Enter'.
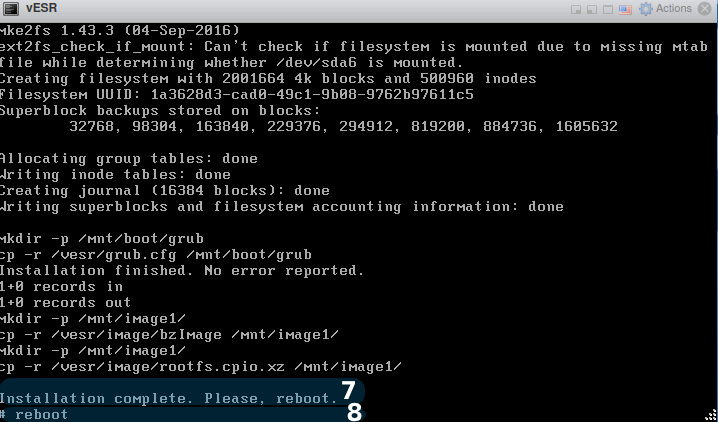
vESR installation has been successfully completed.