Creating a database and server configuration backup
If NAICE is already installed, it is recommended to create a database and server configuration backup before installing version 1.2 using an OVA image in a high-availability configuration.
This can be done using the instructions in v1.2_3.2.4 Backup.
Preparing the primary NAICE node
To create the primary NAICE node using an OVA image, use the instructions in v1.2_3.2.1 Installation using an OVA image.
Preparing the backup NAICE node
As the first step, deploy the NAICE image on a virtual machine (VM) in the hypervisor you are using.
After the VM starts, log in to the system using the preinstalled user account:
- Login: eltex;
- Password: eltex.
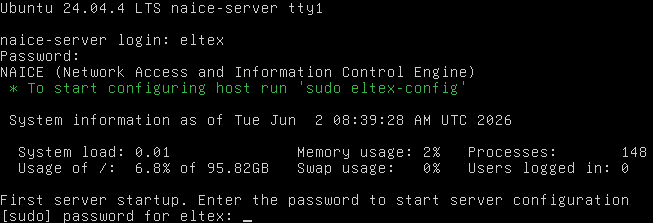
After a successful login, the NAICE interactive menu opens.
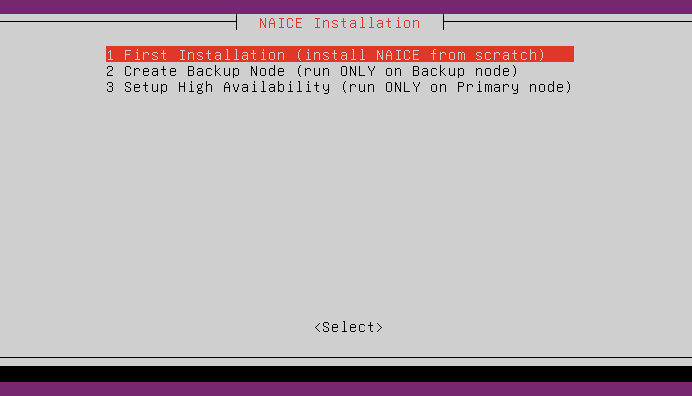
To create the backup node, select the "2 Create Backup Node (run ONLY on Backup node)" item. After this option is selected, a warning about the need for unique node names appears.
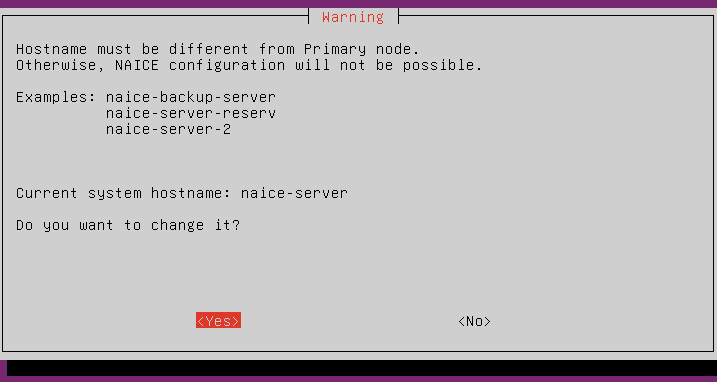
The node name can be changed by selecting "Yes" in the warning and entering the new name in the field.
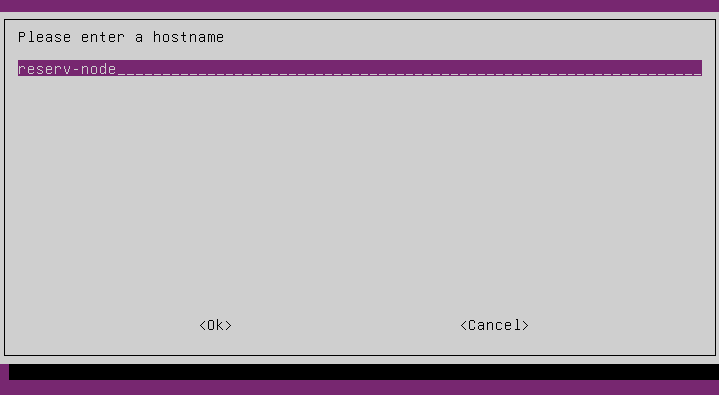
After the name is confirmed, information will be displayed indicating that the node is marked as backup, followed by a prompt to configure the parameters. At the same time, the color palette used in the NAICE interactive menu changes to visually distinguish the primary and backup nodes.
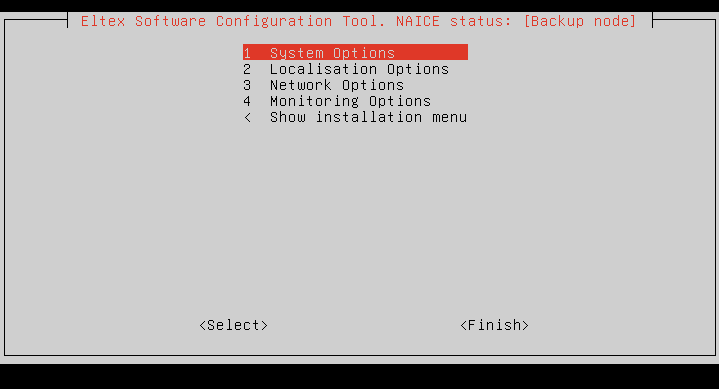
The menu allows configuring the following parameters:
- Change the eltex user password;
- Change the server locale;
- Change the server time zone;
- Enable the DHCP client or set a static network interface address;
- Configure DNS;
- Configure NTP;
- Configure NAICE monitoring using the Eltex Peeper monitoring service.
To complete the backup node configuration, select "Finish" and select the address that will be used to access the NAICE web interface
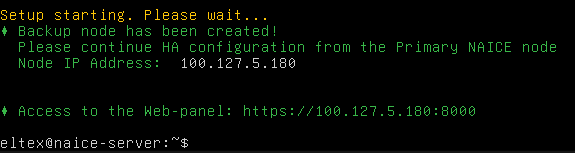
After the installation is complete, a message containing the following is displayed:
- information that the backup node has been configured successfully and that further cluster configuration is performed on the primary node;
- the backup node IP address;
- the URL for accessing the web panel.
High-availability NAICE installation
To install NAICE with high availability using an OVA image, connect to the VM running the primary NAICE node and start the interactive menu using the following command:
sudo eltex-config
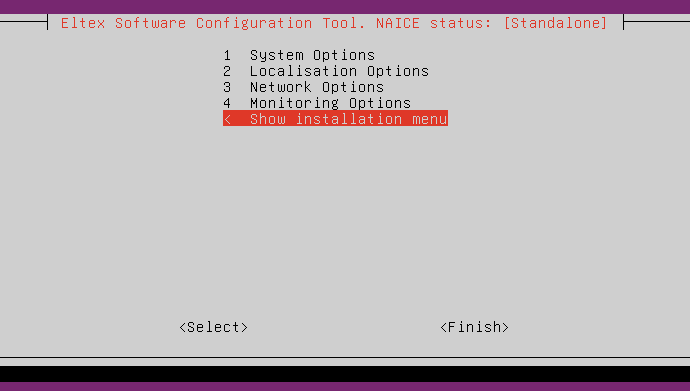
In the interactive menu that opens, select "< Show installation menu".
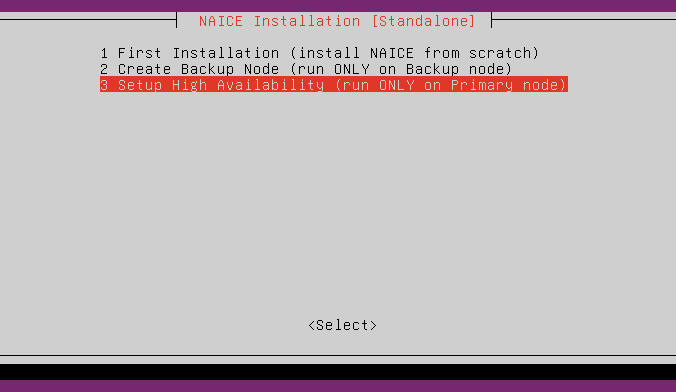
On the page that appears, to connect the backup node, select "3 Setup High Availability (run ONLY on Primary node)".
The next step is to enter the backup node IP address; specify it without the subnet mask.
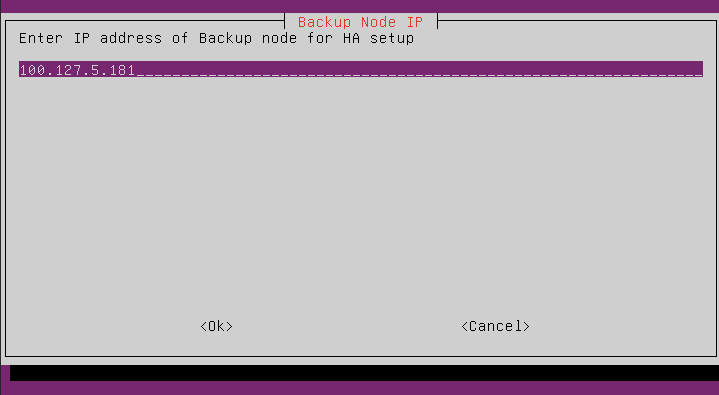
After the connection to the backup node is verified, you will be prompted to enter the password for the "eltex" user (located on the backup node).
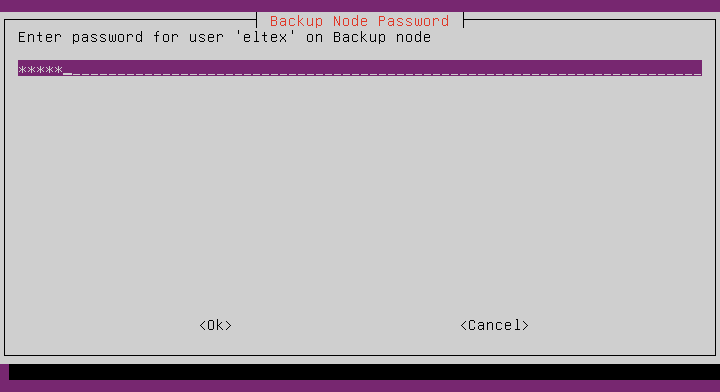
If the entered password is correct, a message will be displayed indicating that the backup node is ready for installation.
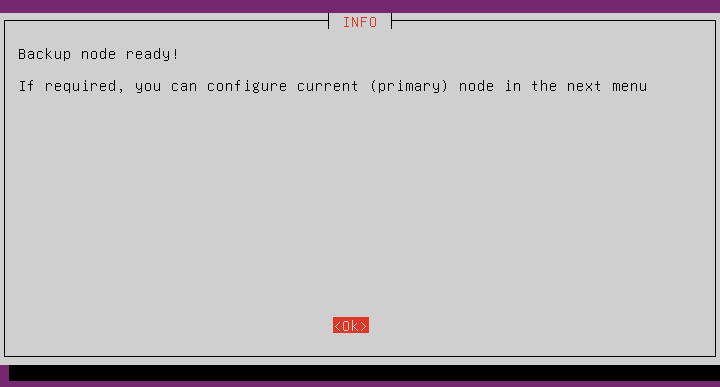
After you continue, you can modify the primary node settings. If no changes are required, simply select "Finish".
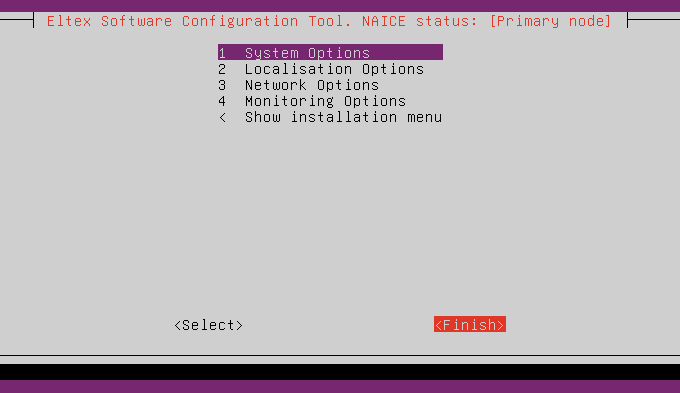
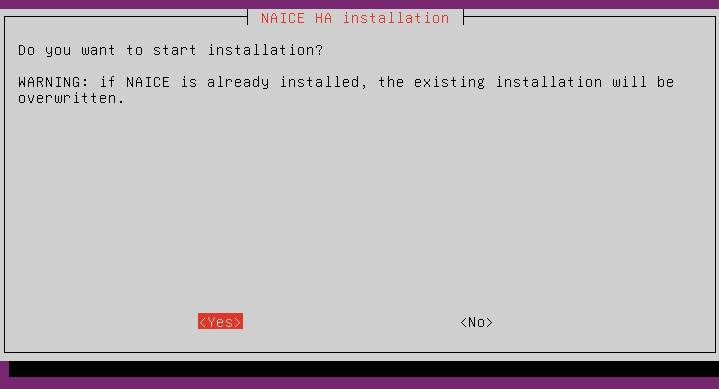
An installation confirmation prompt will then appear; select "Yes".
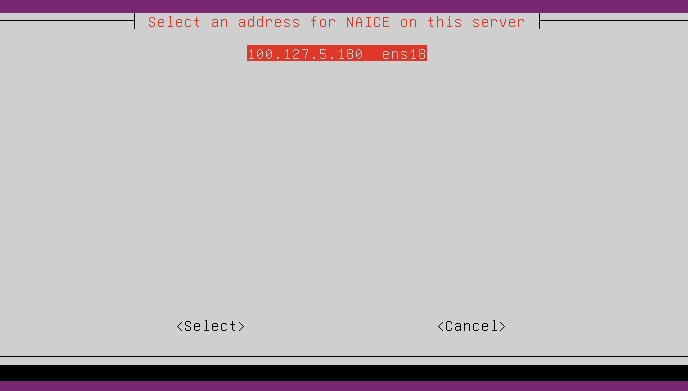
The final step is to select the installation interface.
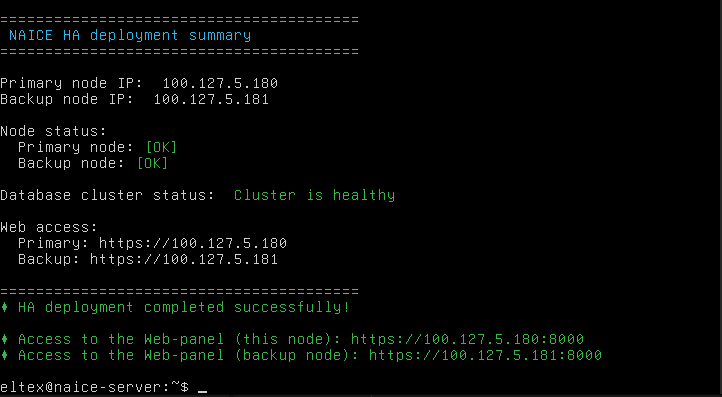
After the installation is complete, a message containing the following is displayed:
- the primary and backup node IP addresses;
- the status of each node;
- the database cluster status;
- the URL for accessing the web interface of each node;
- the URL for accessing the web panel of each node.
Restoring the database and server configuration
After the high-availability NAICE installation has been successfully completed, restore the database data and the server configuration. This can be done following the instructions in v1.2_3.2.1 Installation using an OVA image.