In this section, consider driving a car into a parking lot by state license plate through a gate.
Preliminary conditions
- The controller is configured in the Gate mode;
- The relay is configured for Input to and Output from
- The access pattern is created in which a 1-point turnstile is selected;
- The Worker is created;
- The access pattern is assigned to the Worker;
- The Camera is added.
Activating worker analytics
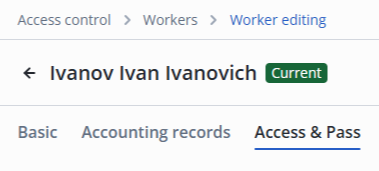
Switch to the worker's edit page in the Access & Pass section.
Click the Add car button.
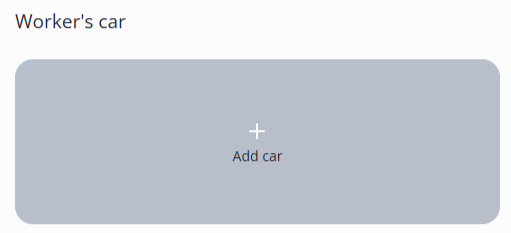
Select a color and enter the car number.
By default, analytics is enabled when you add a car.

Configuring a camera
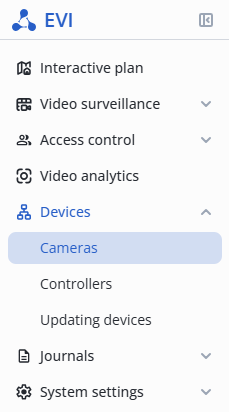
In the Devices section, go to the Cameras section.
Camera location
The camera location must correspond to the Input to parameter of the relay to be controlled.
Select the location of the camera.

Analytics settings
In the camera edit, switch to the Video analytics section.
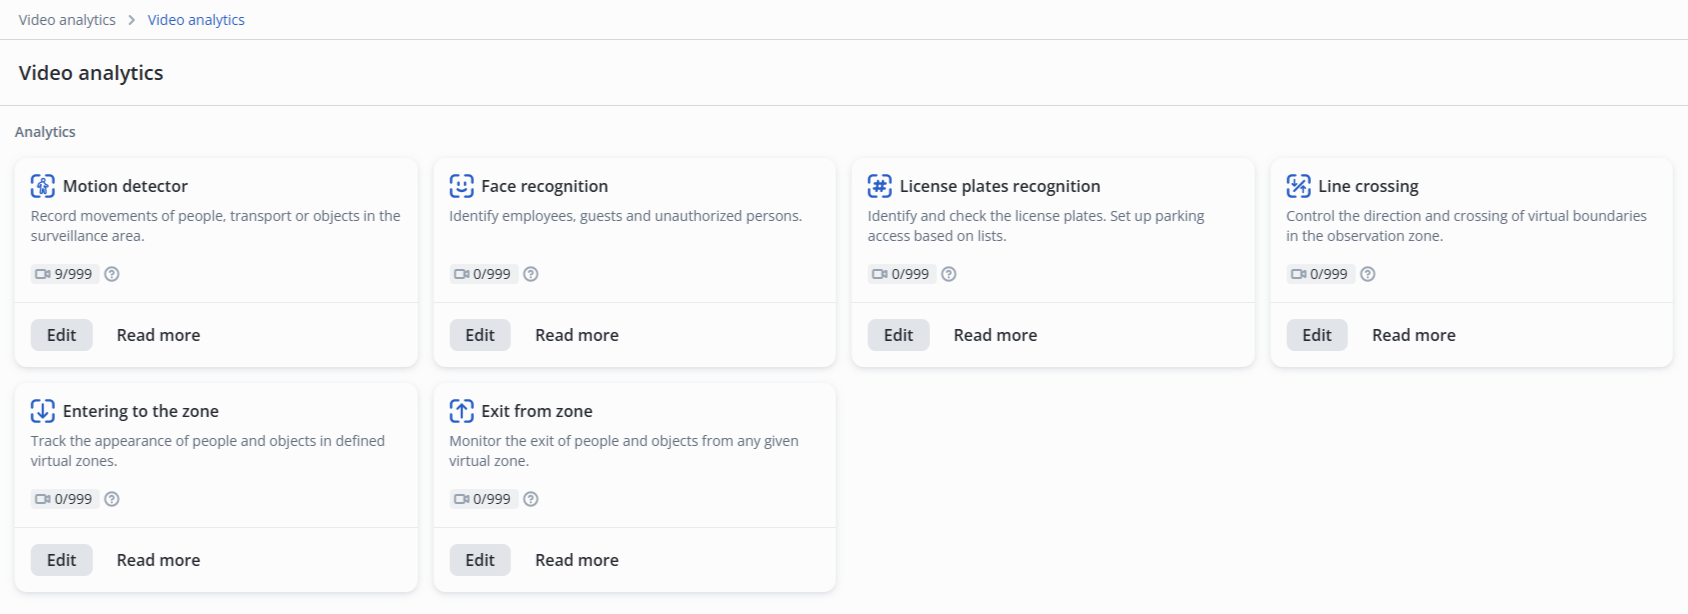
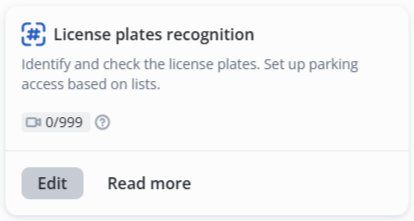
Click Edit on the License plates recognition model.
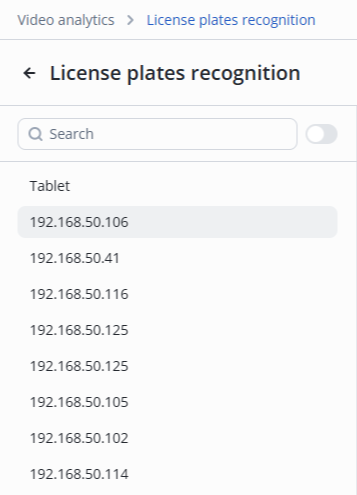
Select the desired camera from the list.
Basic settings
- Analytics state — Enabled;
- Number size in frame — 0.02.
Number size in frame
The parameter is selected by matching on a real camera.
To do this, place the person in the camera frame, positioning them in front of the lens, and select the area using the Set interactively button.
- Sensitive — 0.10;
- Allowable number of erroneous characters — 1.

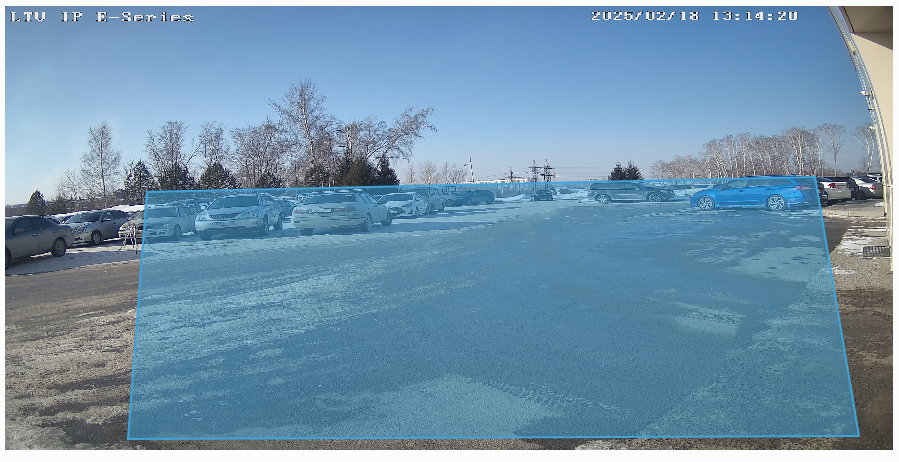
Configuring a detection zone
The recognition zone must be set when the frame includes several license plates in the entire frame area.
Example of a typical zone for license plate recognition:
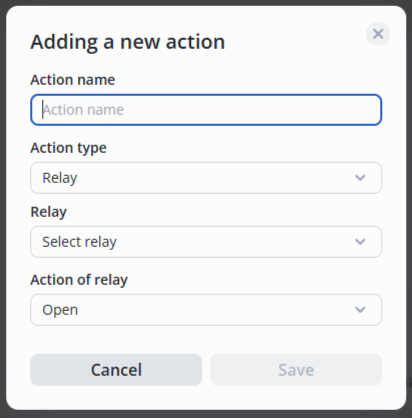
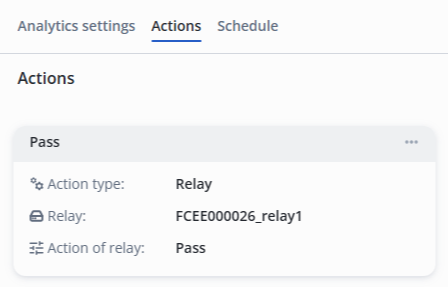
Configuring a recognition action
Move the switch to the active position, click the Add action button.

Then select the type of action — Relay/Record to archive, the desired relay from the list, and the relay action — Open/Closed/Pass.
After adding:
It is necessary to add a second camera in the same way and configure the gate passage in the opposite direction, using a second relay to allow passage in both directions.